1955 Ford Part 63: Rebuilding a Thermostat Housing
- Hot Rod Reverend
- Dec 2, 2018
- 4 min read
Updated: Dec 27, 2019
Rebuilding a Thermostat Housing
Throughout this month I plan to post a few articles that I have written for the Y Block Magazine. Over the past several years, helpful technical information I have submitted has been published by Bruce Young the editor. If you are interested in subscribing, you can find out more by visiting this link: http://www.y-blocksforever.com/Links.html. Towards the bottom of that page there is a link with which you can contact the magazine.
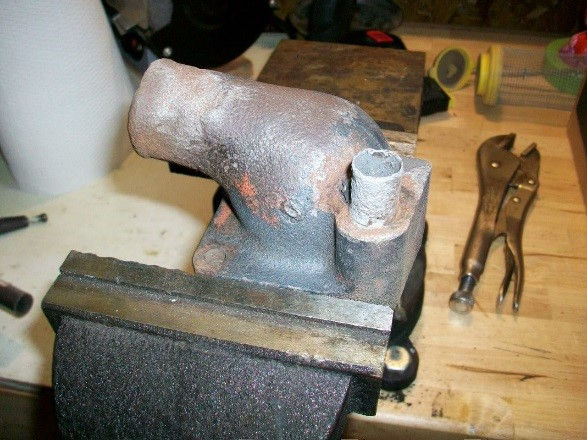
Used Y Block thermostat housings most often have a corroded by-pass tube
Not too long ago I found two handy uses for metal stock (cold roll steel tubing) for our Y block thermostat housings and the 1955 and 1956 Ford Passenger Cars that are being switched from the “three-on-the-tree” to the floor shift. [Note: look up Part 11 in the blog series to read about the shifter conversion]. This tubing could be found at a good hardware store or welder’s supply shop, but you can also find it online if you search the internet.
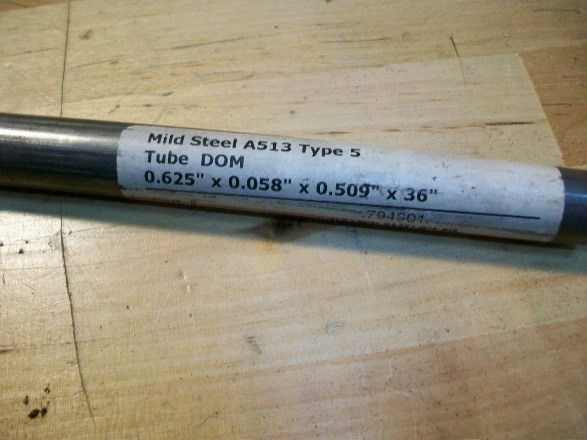
Obviously this article concerns the replacement of the bypass tube on the Y block thermostat housings. Most of these original thermostats have a by-pass tube that are corroded to some degree and many of the housings are then tossed to the scrap heap even though the mounting surface is fine. The original housings were made of cast iron and were virtually bullet-proof. To recycle your thermostat housing, cut off the corroded by pass tube as shown.
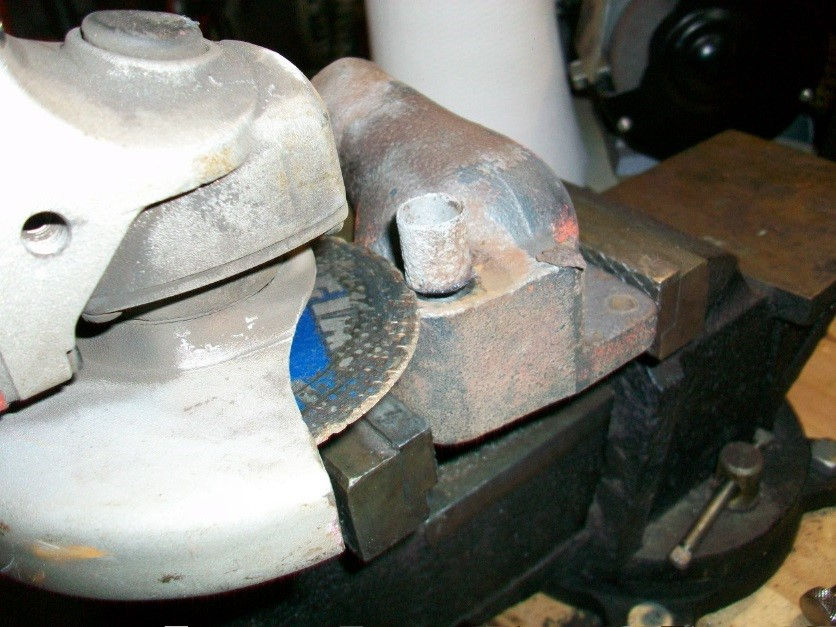
Use a cut off wheel or another tool that will give you a straight cut. After securing the housing with a vise or some other tool, make your cut flush with the surface of the housing itself. Don’t worry too much about getting the cut “machine-perfect” because in just a few minutes we are going to take a dremel or a file to the surface to make it flush for our 5/8” drill bit.
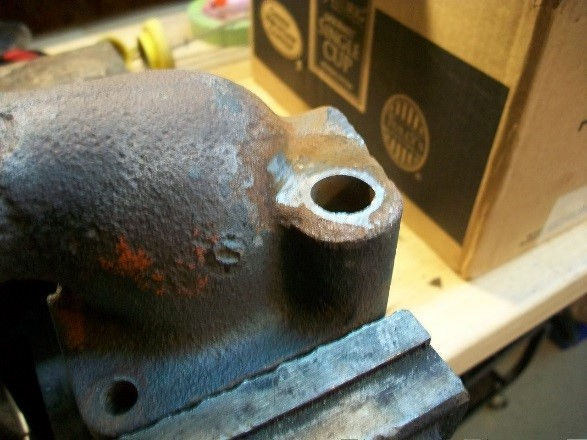
Use a Dremel tool or another small file to make the opening flush with the casting.
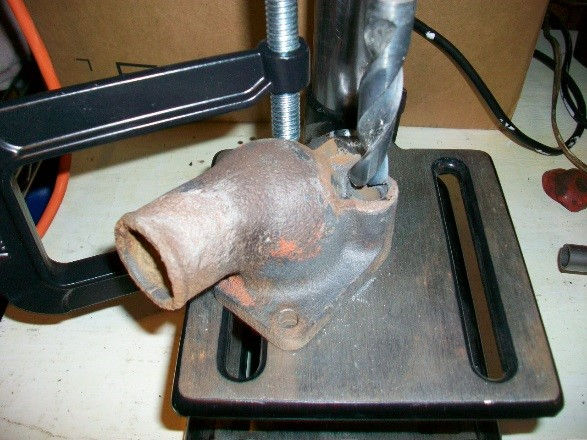
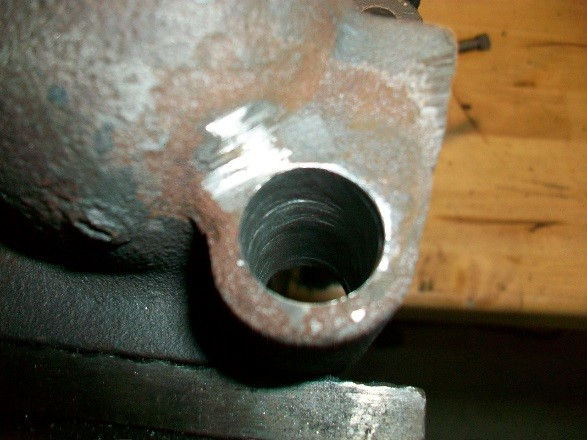
Now that we have the old tube out of the way, it is time to prep the hole to receive the new 5/8” OD cold rolled steel tube as a replacement. I prefer to use a drill press to keep the bit as perpendicular to the thermostat housing as possible. Some may question the reasoning behind using a 5/8” drill bit when the steel tube OD is also 5/8”. The original tube was a press fit into the hole in the casting, but not all the way through, only about 2/3 of the way as far as I can tell in all of the housings I have restored. Installing a new tube in the hole will still be a tight fit no matter if you drill all the way through or not. There is usually plenty of corrosion in the hole anyway. After drilling through make sure you clean up the shavings and clean up the hole as much as possible. We want the tube to fit tightly and we want the new tube to seal up well also.
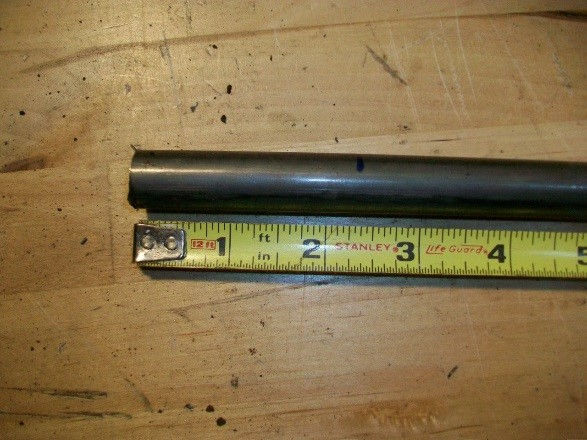
Next up is to cut a length of tubing for your housing. I like to use a length close to original. Measure it out, mark it, put it in the vise, and cut it too length. Make sure you deburr your ends also.
After your cut, clean the interior and exterior of your new by-pass tube. Dry fit the tube into the hole in the thermostat housing. About a ½” into the hole you will find your new tube needing some extra effort to keep going – don’t do it. Pull it back out and get out some JB Weld from your stash and mix just a little – you don’t need much. The fit of your new tube is going to be pretty tight – tight enough you will need to either use an arbor press or at least tap it in a little bit with a hammer. The JB Weld will insure a tight seal. (Every unit I have ever put together has never failed – it is an excellent seal and leak proof.)

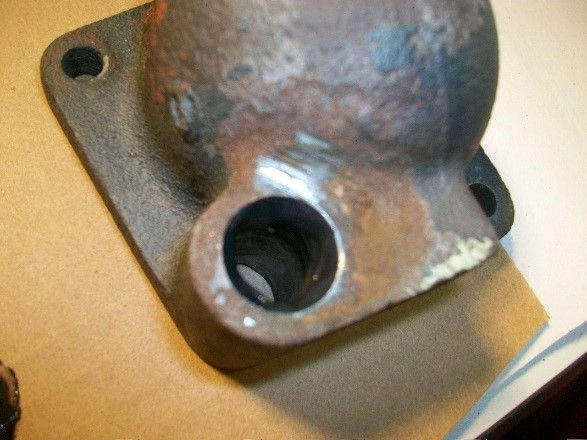
Push your new tube into the hole and twist a ¼ turn as you do so. Once you hit some interference either put it in a press or tap the new tube home with a hammer. You only need to go into the casting hole about ½ way or so, but I recommend going 2/3rd of the way if you can. Flip your housing over and check to see that the hole looks like this…
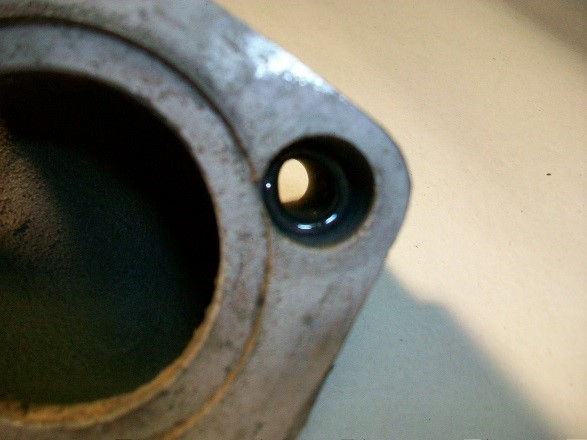
The photo above shows the epoxy sealing up on the outside diameter of the steel tubing - this is to ensure a water tight seal beyond your press fit of the tubing itself.
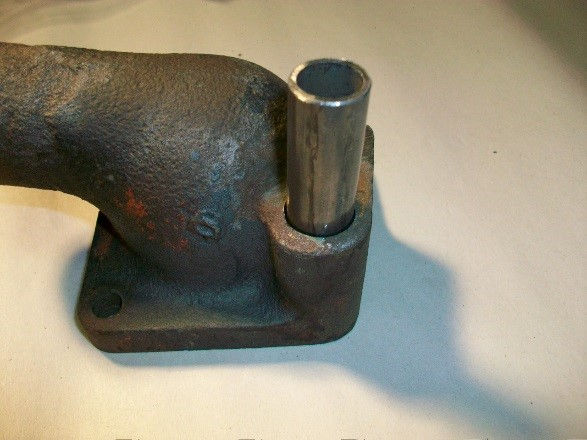
And there you go… new tube installed. Let the JB weld get setup and then paint the housing and put it to good use. These thermostat housings are getting harder to find NOS or NORS, and reproductions are not cheap. Most will go for about $35 or so. If your housing is in good shape to seal and the mounting surface is not pitted too bad, give this rework a try.
There are plenty of helpful tips in the Y Block Magazine from issue to issue. Some are as simple as the procedure I just described, yet others dive deeper into such aspects as rocker arm geometry, connecting rod length, parts identification, etc. From to time I do list back issues on eBay or in a classified forum on one of the websites. Contact me at danaxjessup@yahoo.com if you are interested.


Comments